next article
3-D images of electronic components.
These are known as "cross-eye 3D" photogaphs. To view these images in "3-D",
cross your eyes so that your left eye is looking at the right side photograph,
and your right eye is looking at the left photograph.
Most people describe seeing the 3-D image as a 3rd image between the two real
images. You might have to tilt your head slightly to ge the images to line
up perfectly.
Having trouble viewing these images?
-
Relax
-
Look at a point exactly in the middle of the two photographs, halfway up.
-
Hold up one finger in front of your face so the top of your finger is almost
even with the bottom of the photograph, perhaps a little above the bottom.
-
Focus your eyes on the top of your finger.
-
Now slowly move your finger closer to your computer screen while keeping your
eyes locked on to the tip of your finger.
-
At some distance as you move your finger, you will notice that you are seeing a
third image on the computer monitor. Let your eyes 'lock on' to that third
image. You should now see a 3-dimensional photograph and you can slowly
lower your finger out of view.
I just created this page January 1, 2013. I will be adding more images
soon.
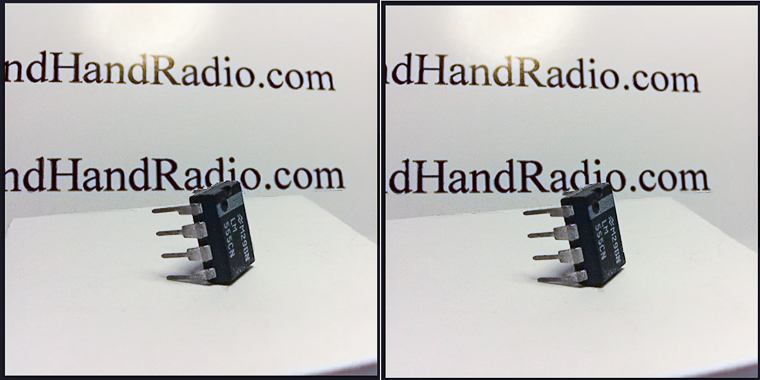
3D image of
an 8 pin dual-inline-package (8-DIP)
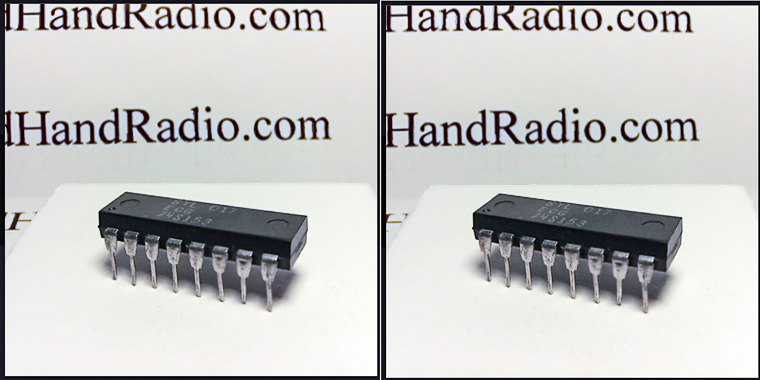
3D image of 16 pin DIP
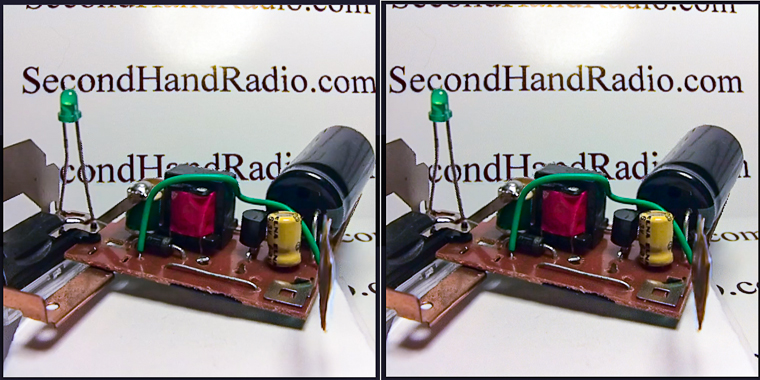
3D image of the flash unit of
a 'one time use' film camera. This flash ran on a single AA cell.
The xenon flash tube is visible to the left; the 'trigger coil' is the small
green transformer just to the left of the red transformer. The large
electrolytic capacitor is rated 330 volt.
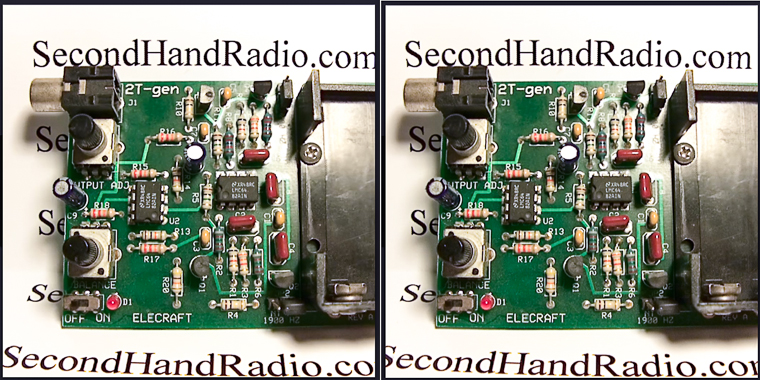
3D photograph of an Elecraft 2-tone generator for transmitter linearity testing.
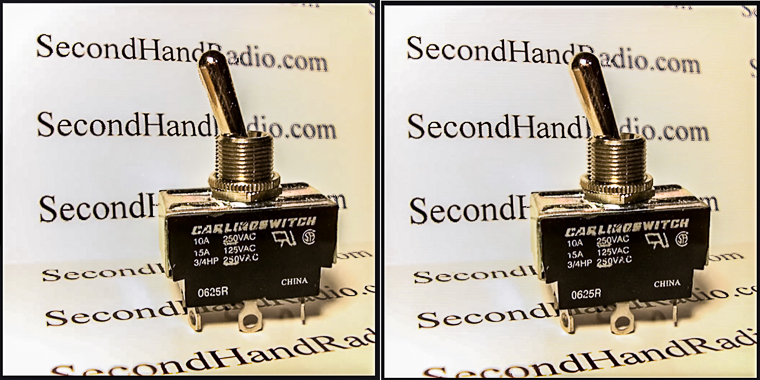
3D crosseye photograph of a double-Pole Double-Throw Switch Toggle style
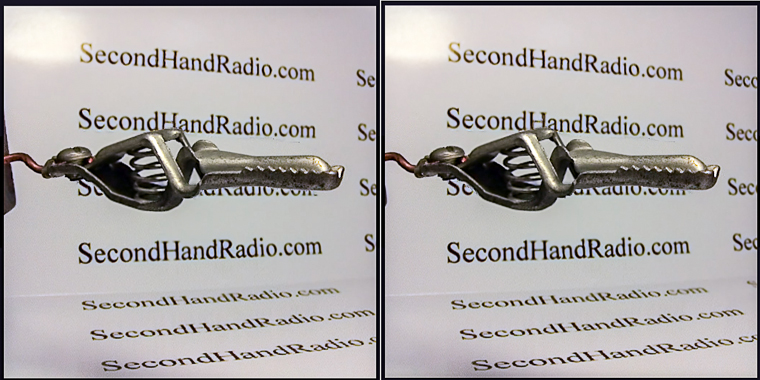
Alligator Clip
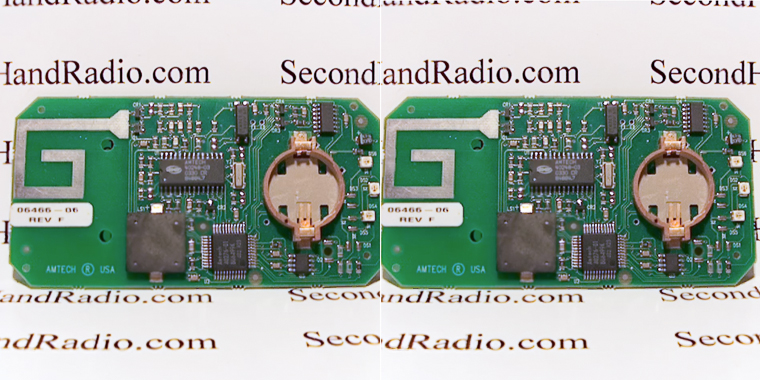
3D image of
a toll-road transponder pcb. The antenna is on the left. The battery
holder on the right, and the largest black item is the piezoelectric 'speaker'.
This old model also had three LEDs (far right) that indicated low account
balance, mis-read, or toll paid.
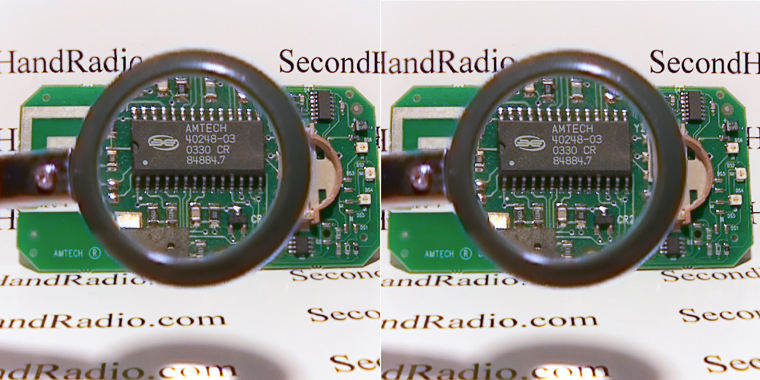
3D image of
a toll-road transponder pcb with magnifying glass. n Now we can read the name on
one of the i.c. is the same as the name on the pcb; Amtech.
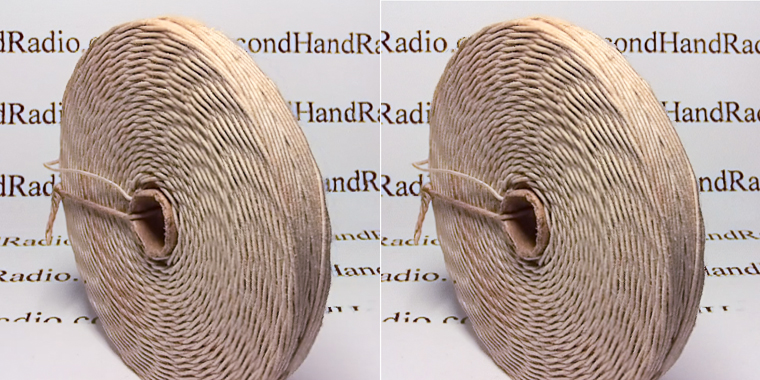
3D image of a basketweave coil. Basket-weave coils have less
interwinding capacitance than 'standard' methdods of winding coils.
Therefore they have higher Q and a higher self-resonance frequency.
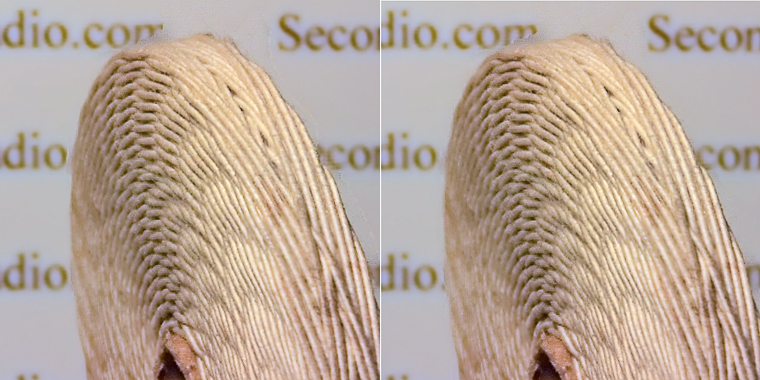
3D image of the same basketweave coil; closeup.
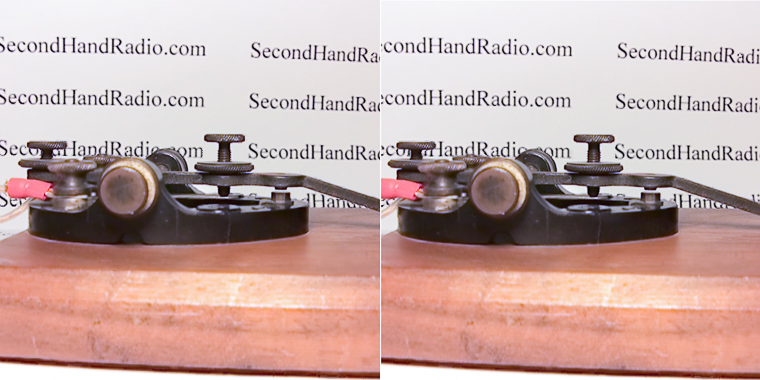
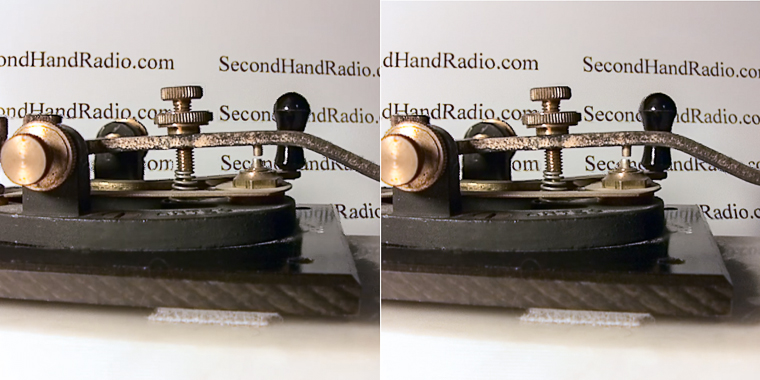
3D image of a J37 morse key. I bought this key on a 'leg clamp', removed
the key and threw away the leg clamp.
Close-up 3D image of a J37 key. Note that this key uses a 'leaf spring'.
It is the flat piece of metal just above the base. The thumbscrew in the
middle of the picture (with a locknut) will adjust "tension". The
thumbscrew in the back (left of picture) adjusts the 'throw" of the key.
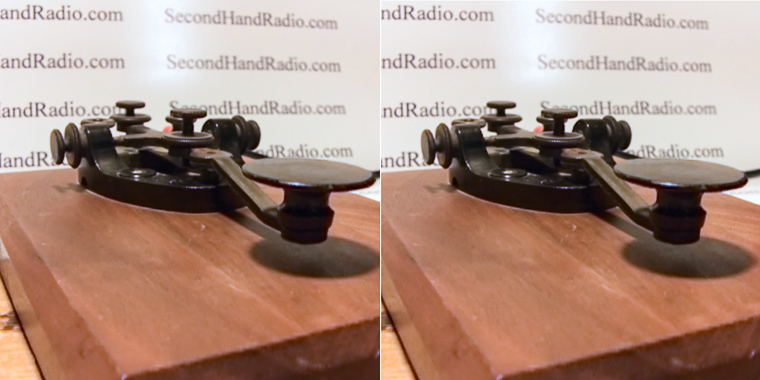
3D image of J38 key (my favorite straight key). I bought it new-in-the-box
around 2002. I cannot remember where I got it. I was a licensed ham
for 30 years before I found one for sale that I could afford.
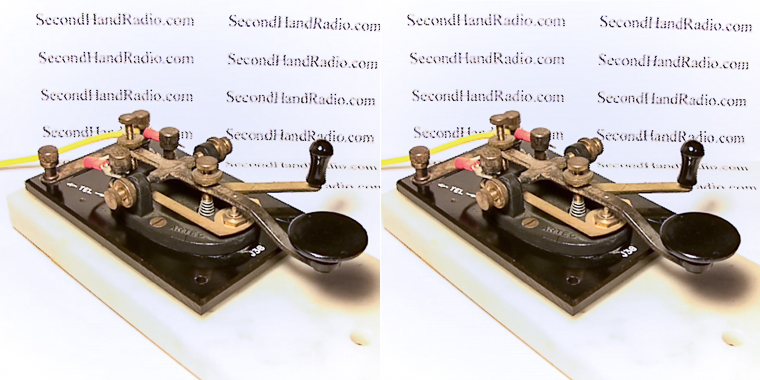
Close-up 3D image of the J38 key. Notice that this key has a "real" spring
for tension. Also, compared to the J37 key, the contacts are much smaller.
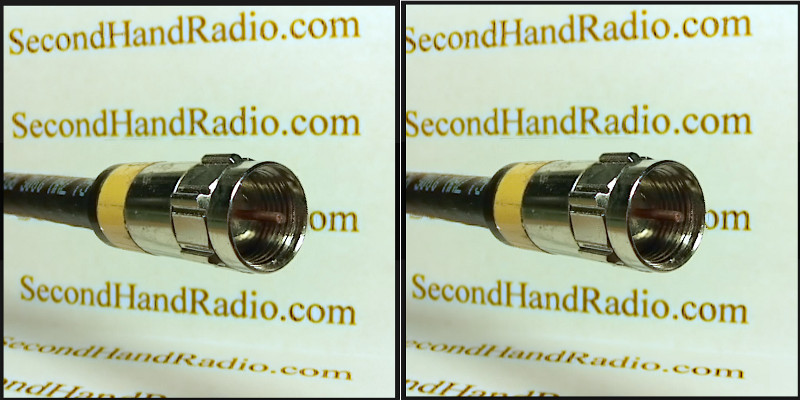
72 ohm BNC connector on RG-59 quad shield coaxial cable